
The first procedure in the Cobblebot build is about putting the wheels together. I watched Mike Kopack’s video where he used pliers, to good effect, and then in the month since, have wondered a few times whether one couldn’t just tighten the nut and push the bearings in that way. I came up with an alternate way to get the bearings in, using a 5 mm t-nut. The bearings have a sticky grease/rust inhibitor on them, so you may want to get a piece of paper or cardboard to work on. Probably best not to rub your eyes or eat finger food while you’re working with the bearings.
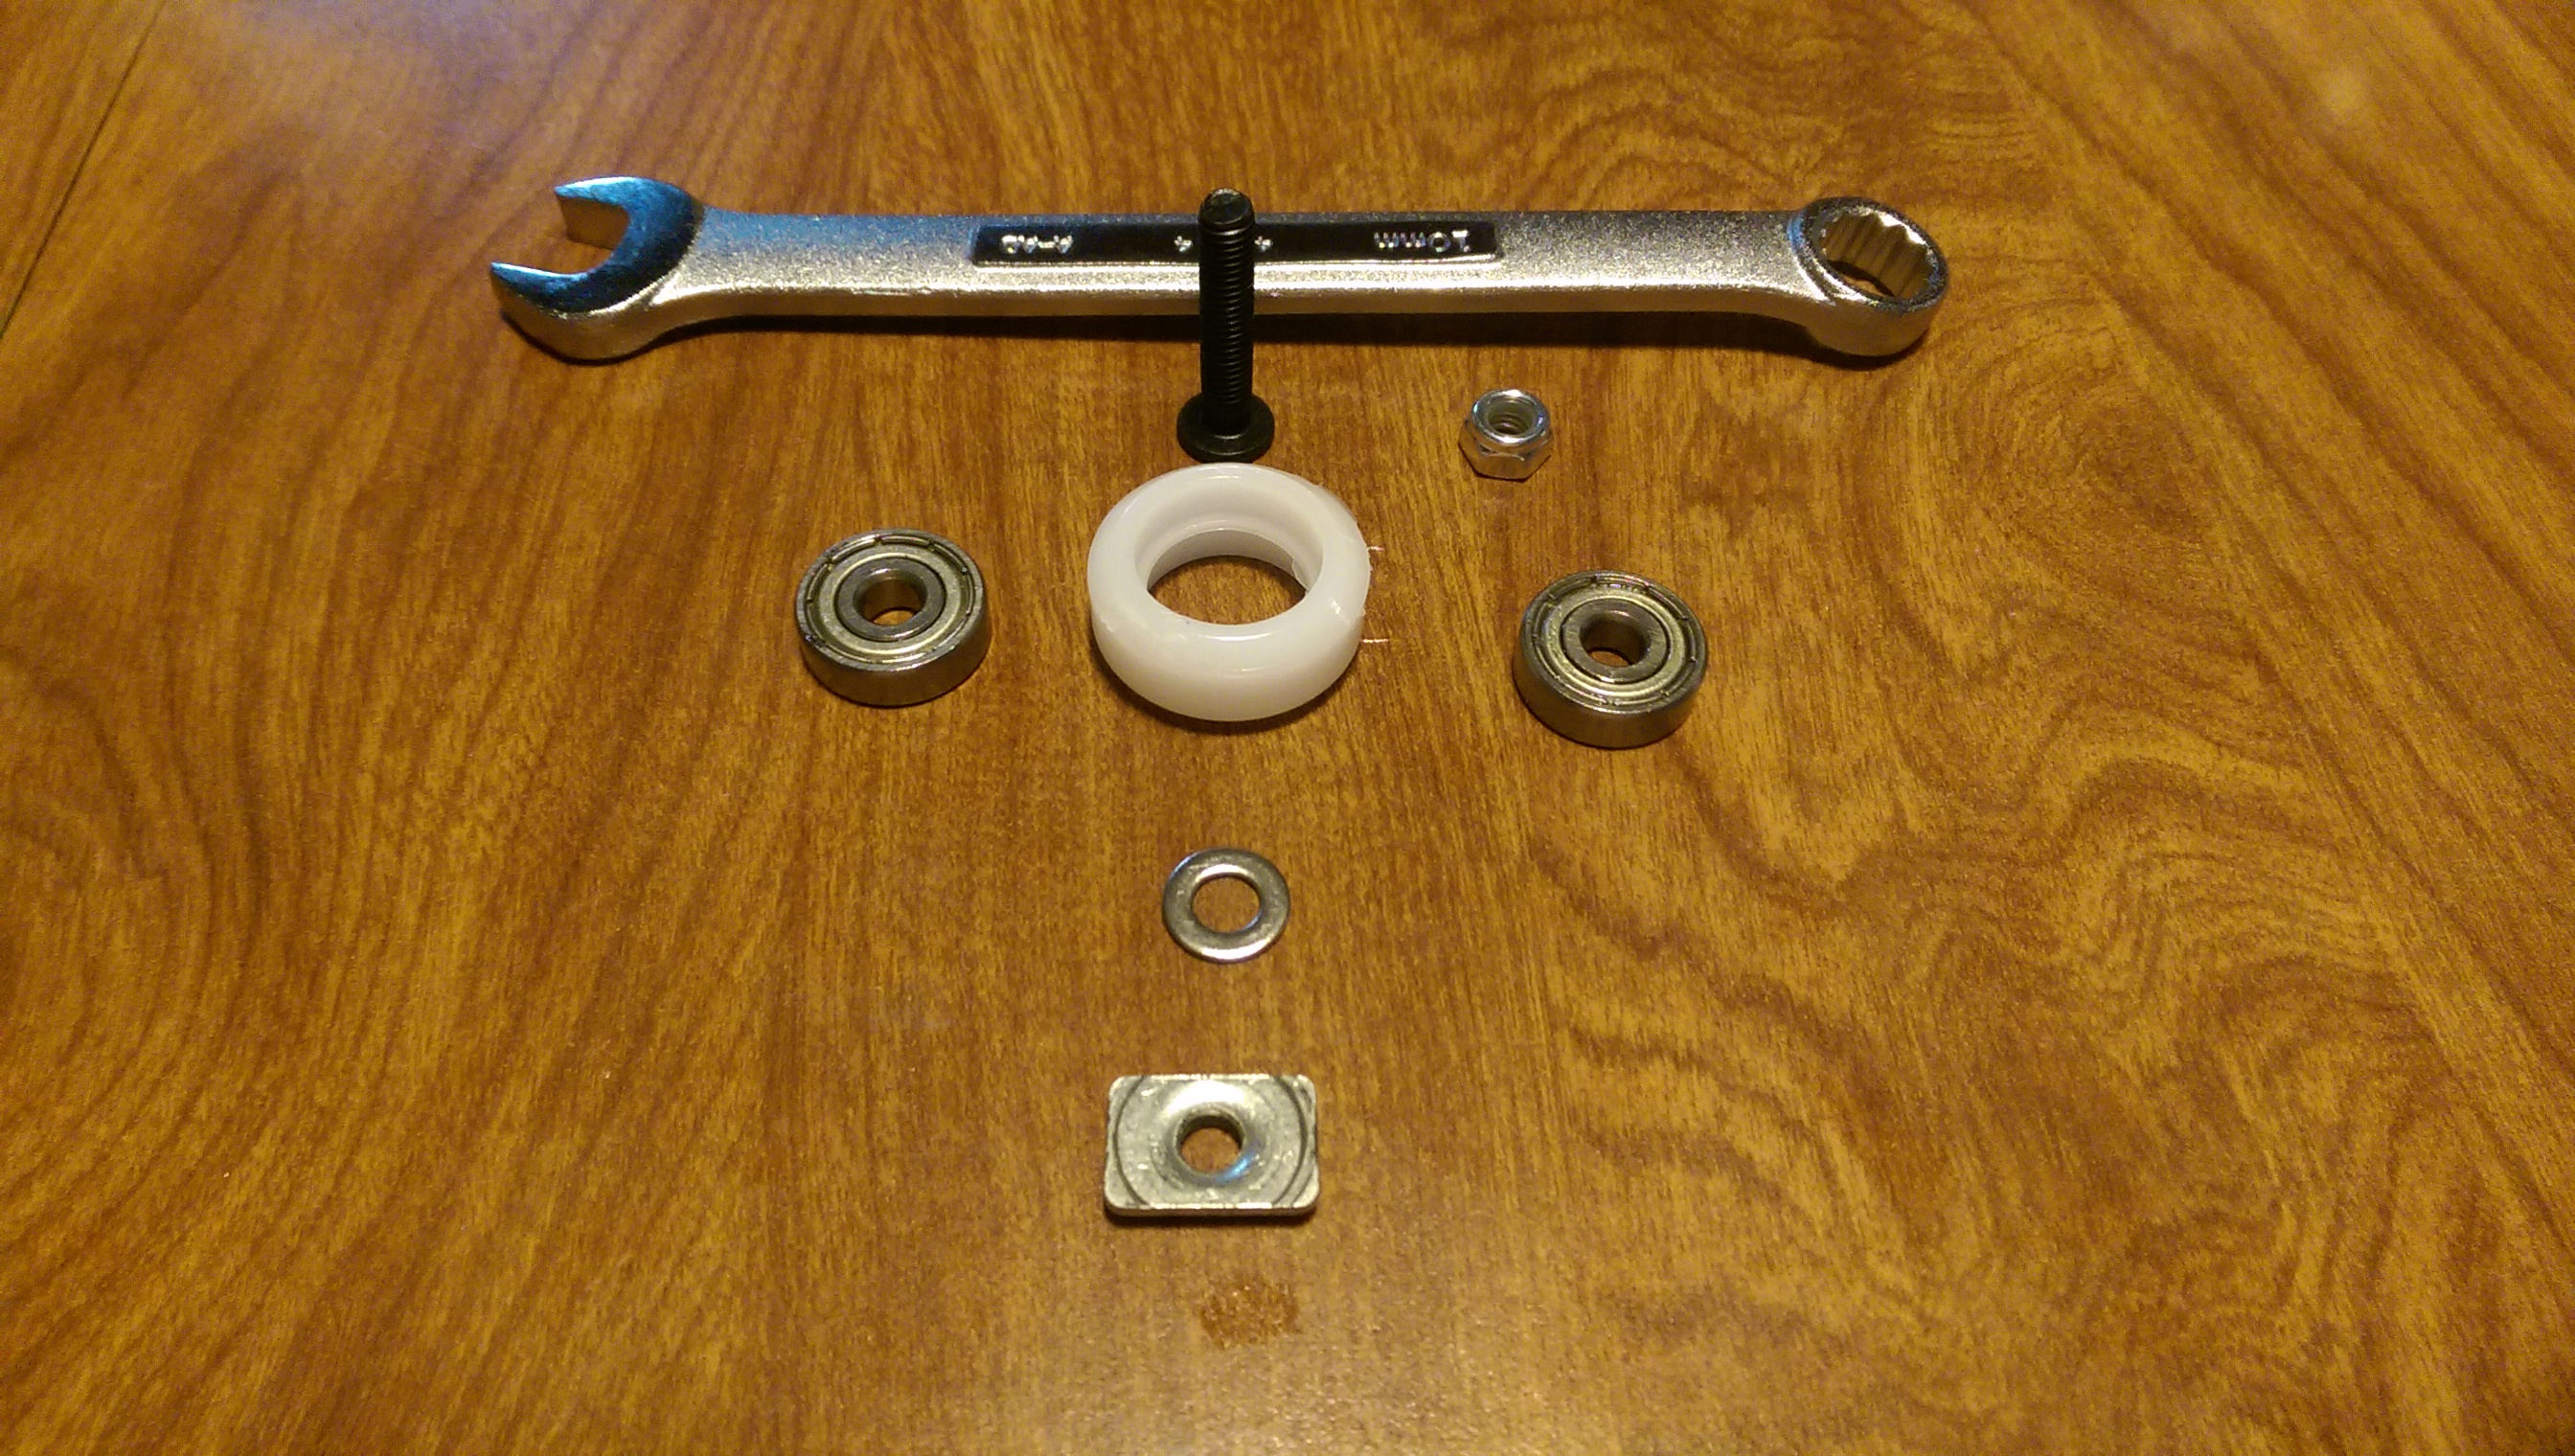
Pic above shows everything you need, minus the hex 3mm hex wrench, which I forgot to put in the pic.
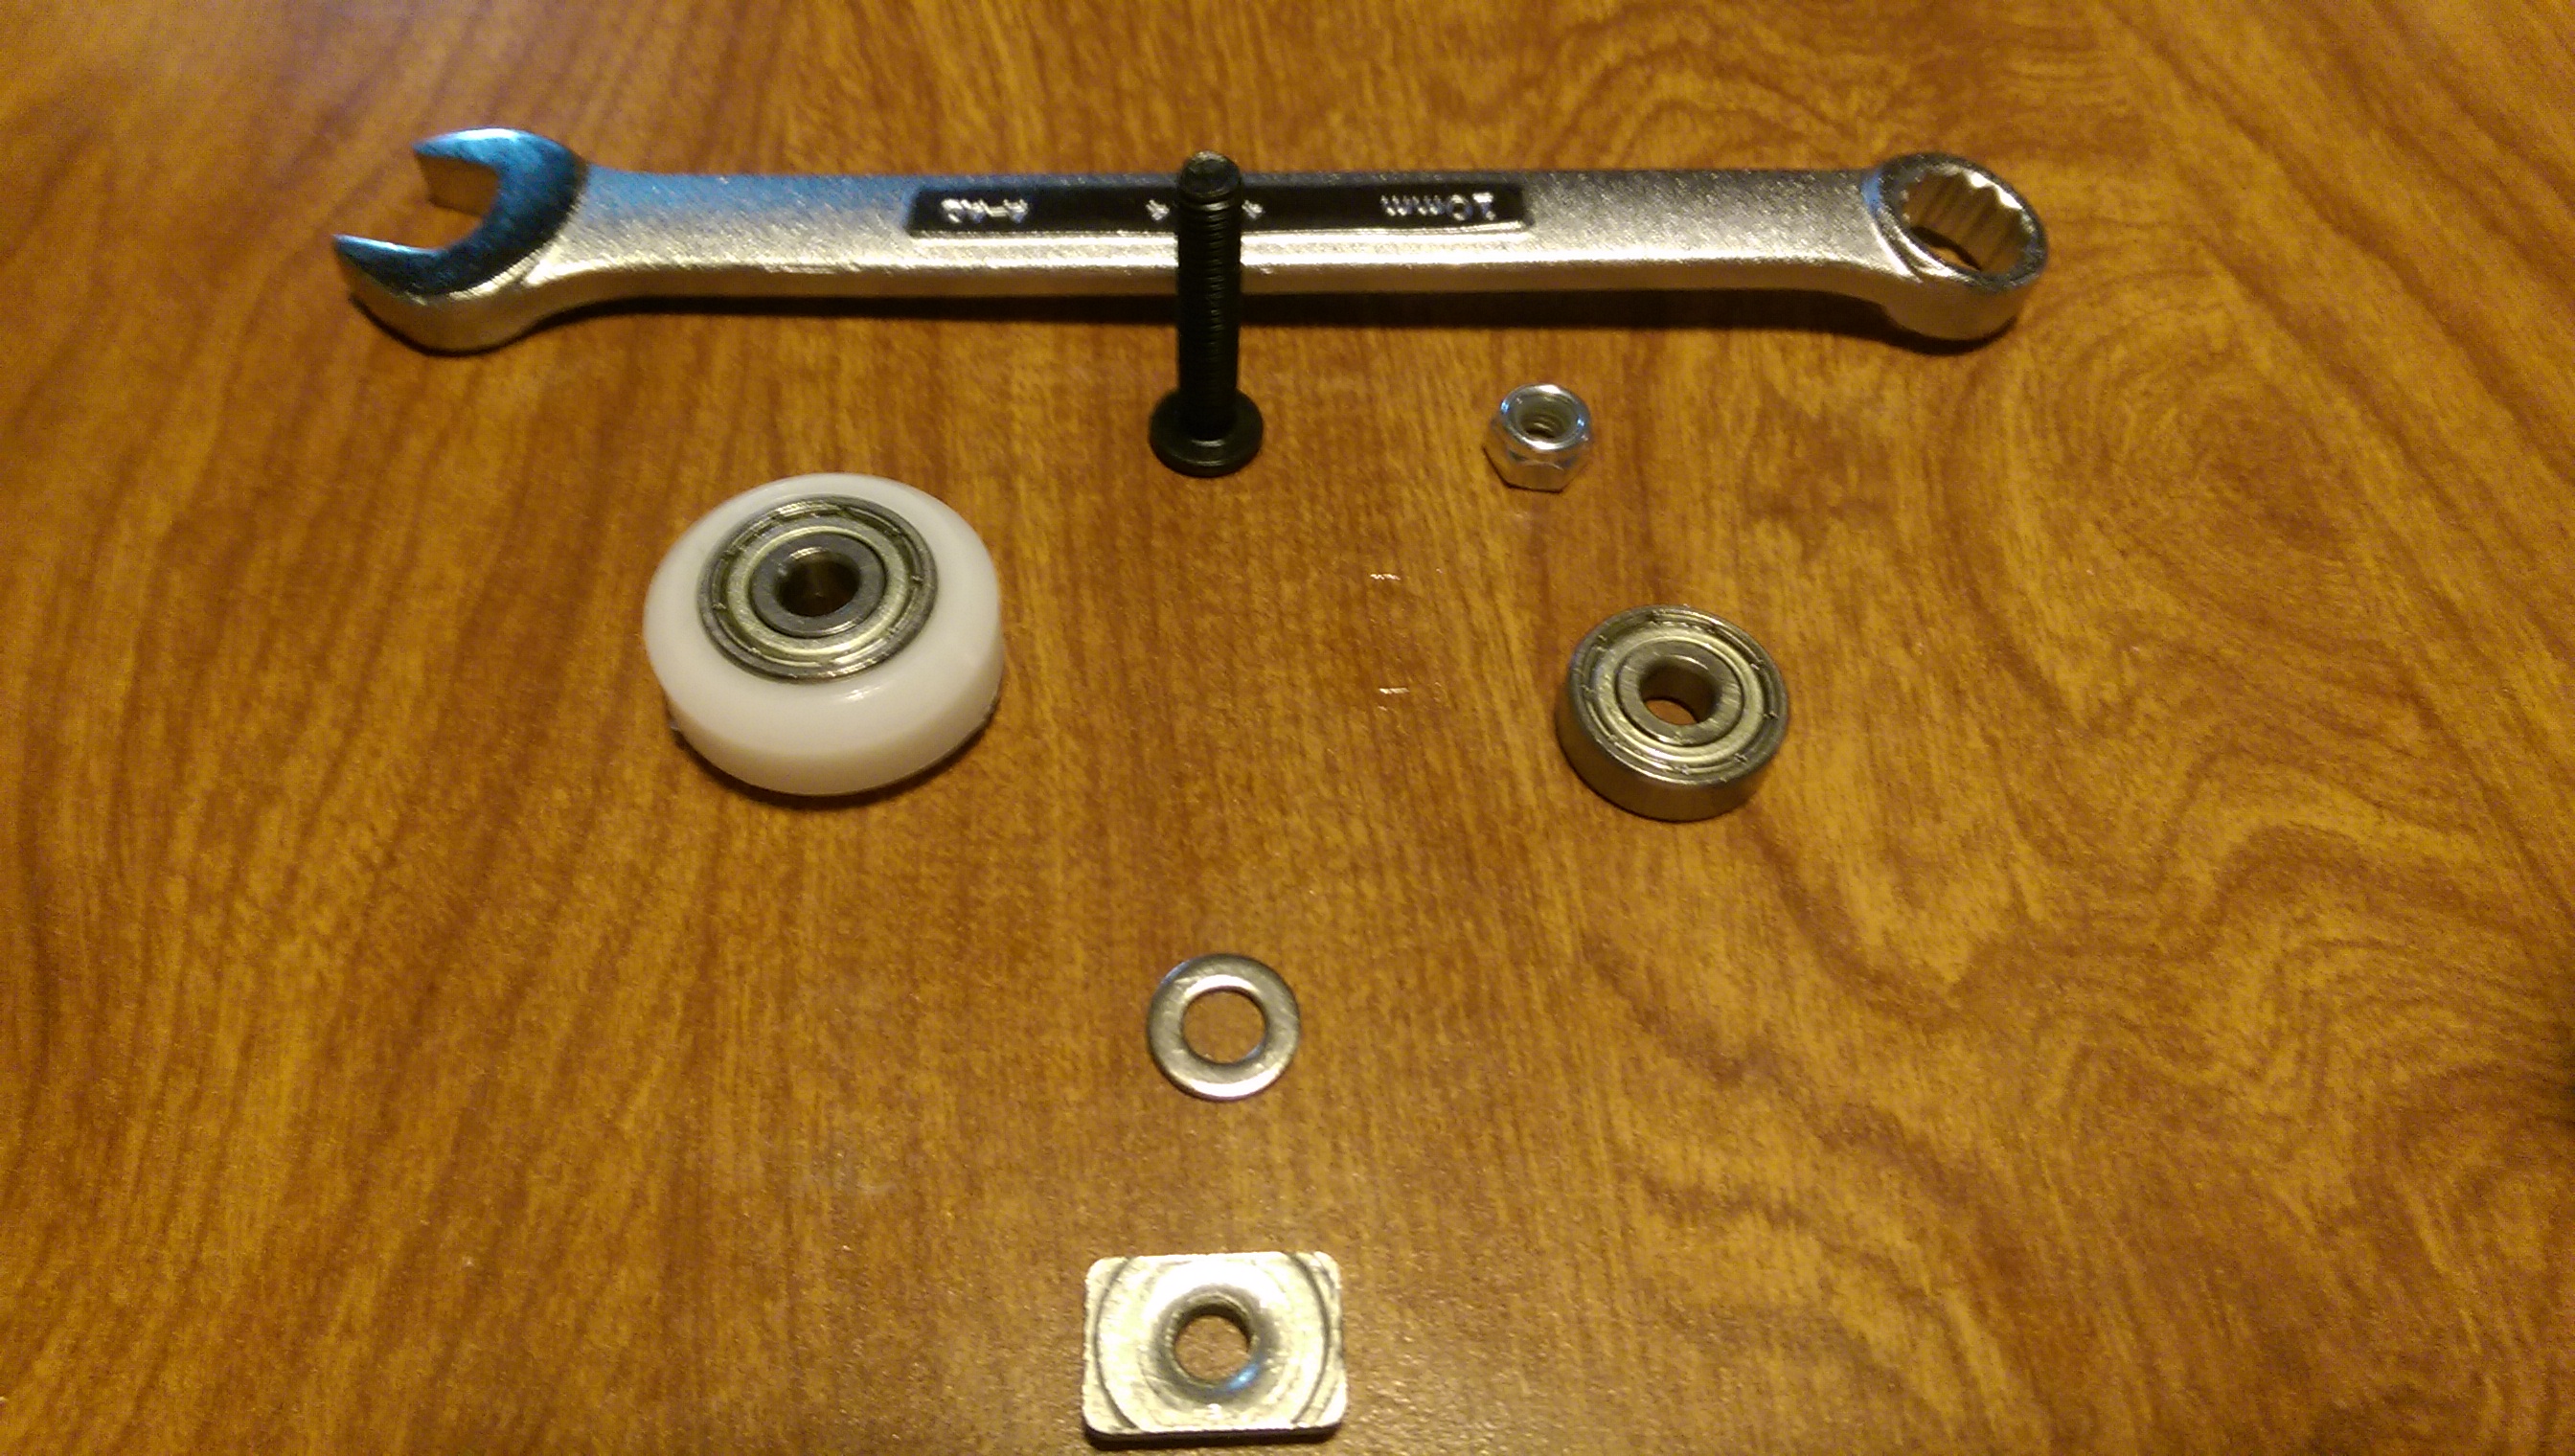
I was able to get one of the two bearings in by just pushing it in with my fingers.
Put the wheel with the one bearing onto the 5mm screw.
Don’t forget the washer between the bearings.
Place the second bearing on the screw.
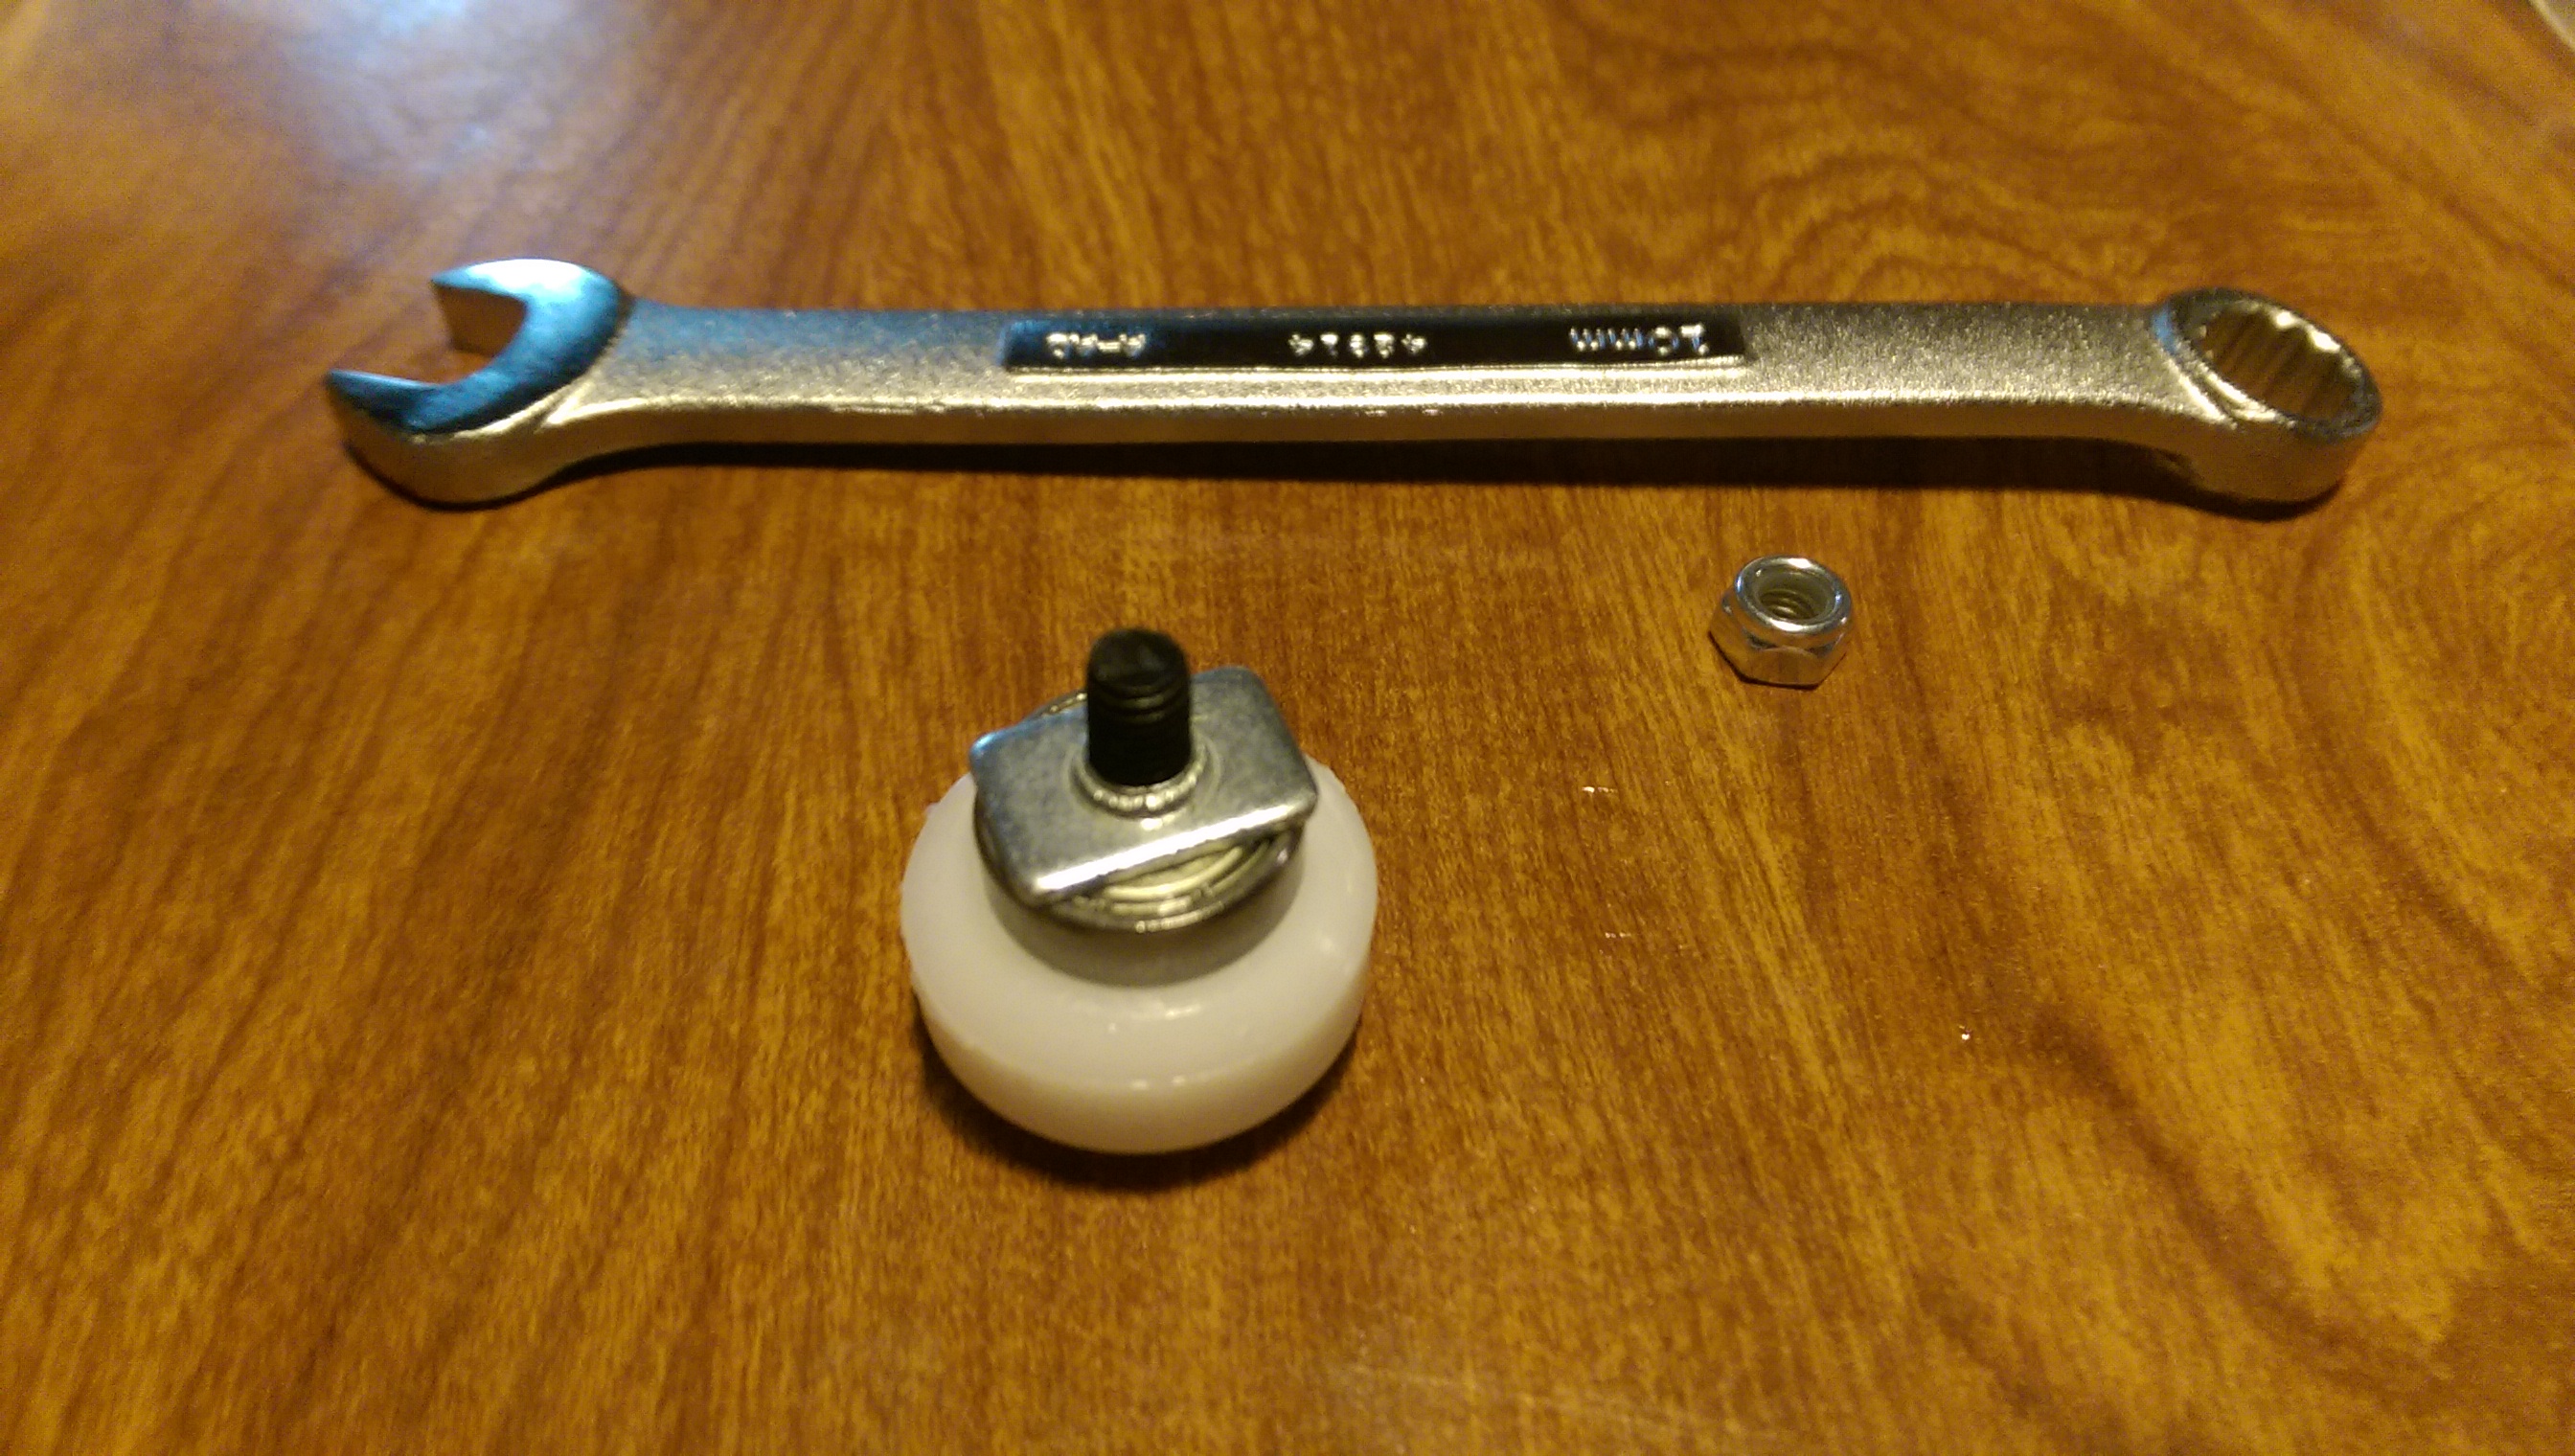
Spin the t-nut onto the screw, flat side down, until it is snug against the top of the bearing.

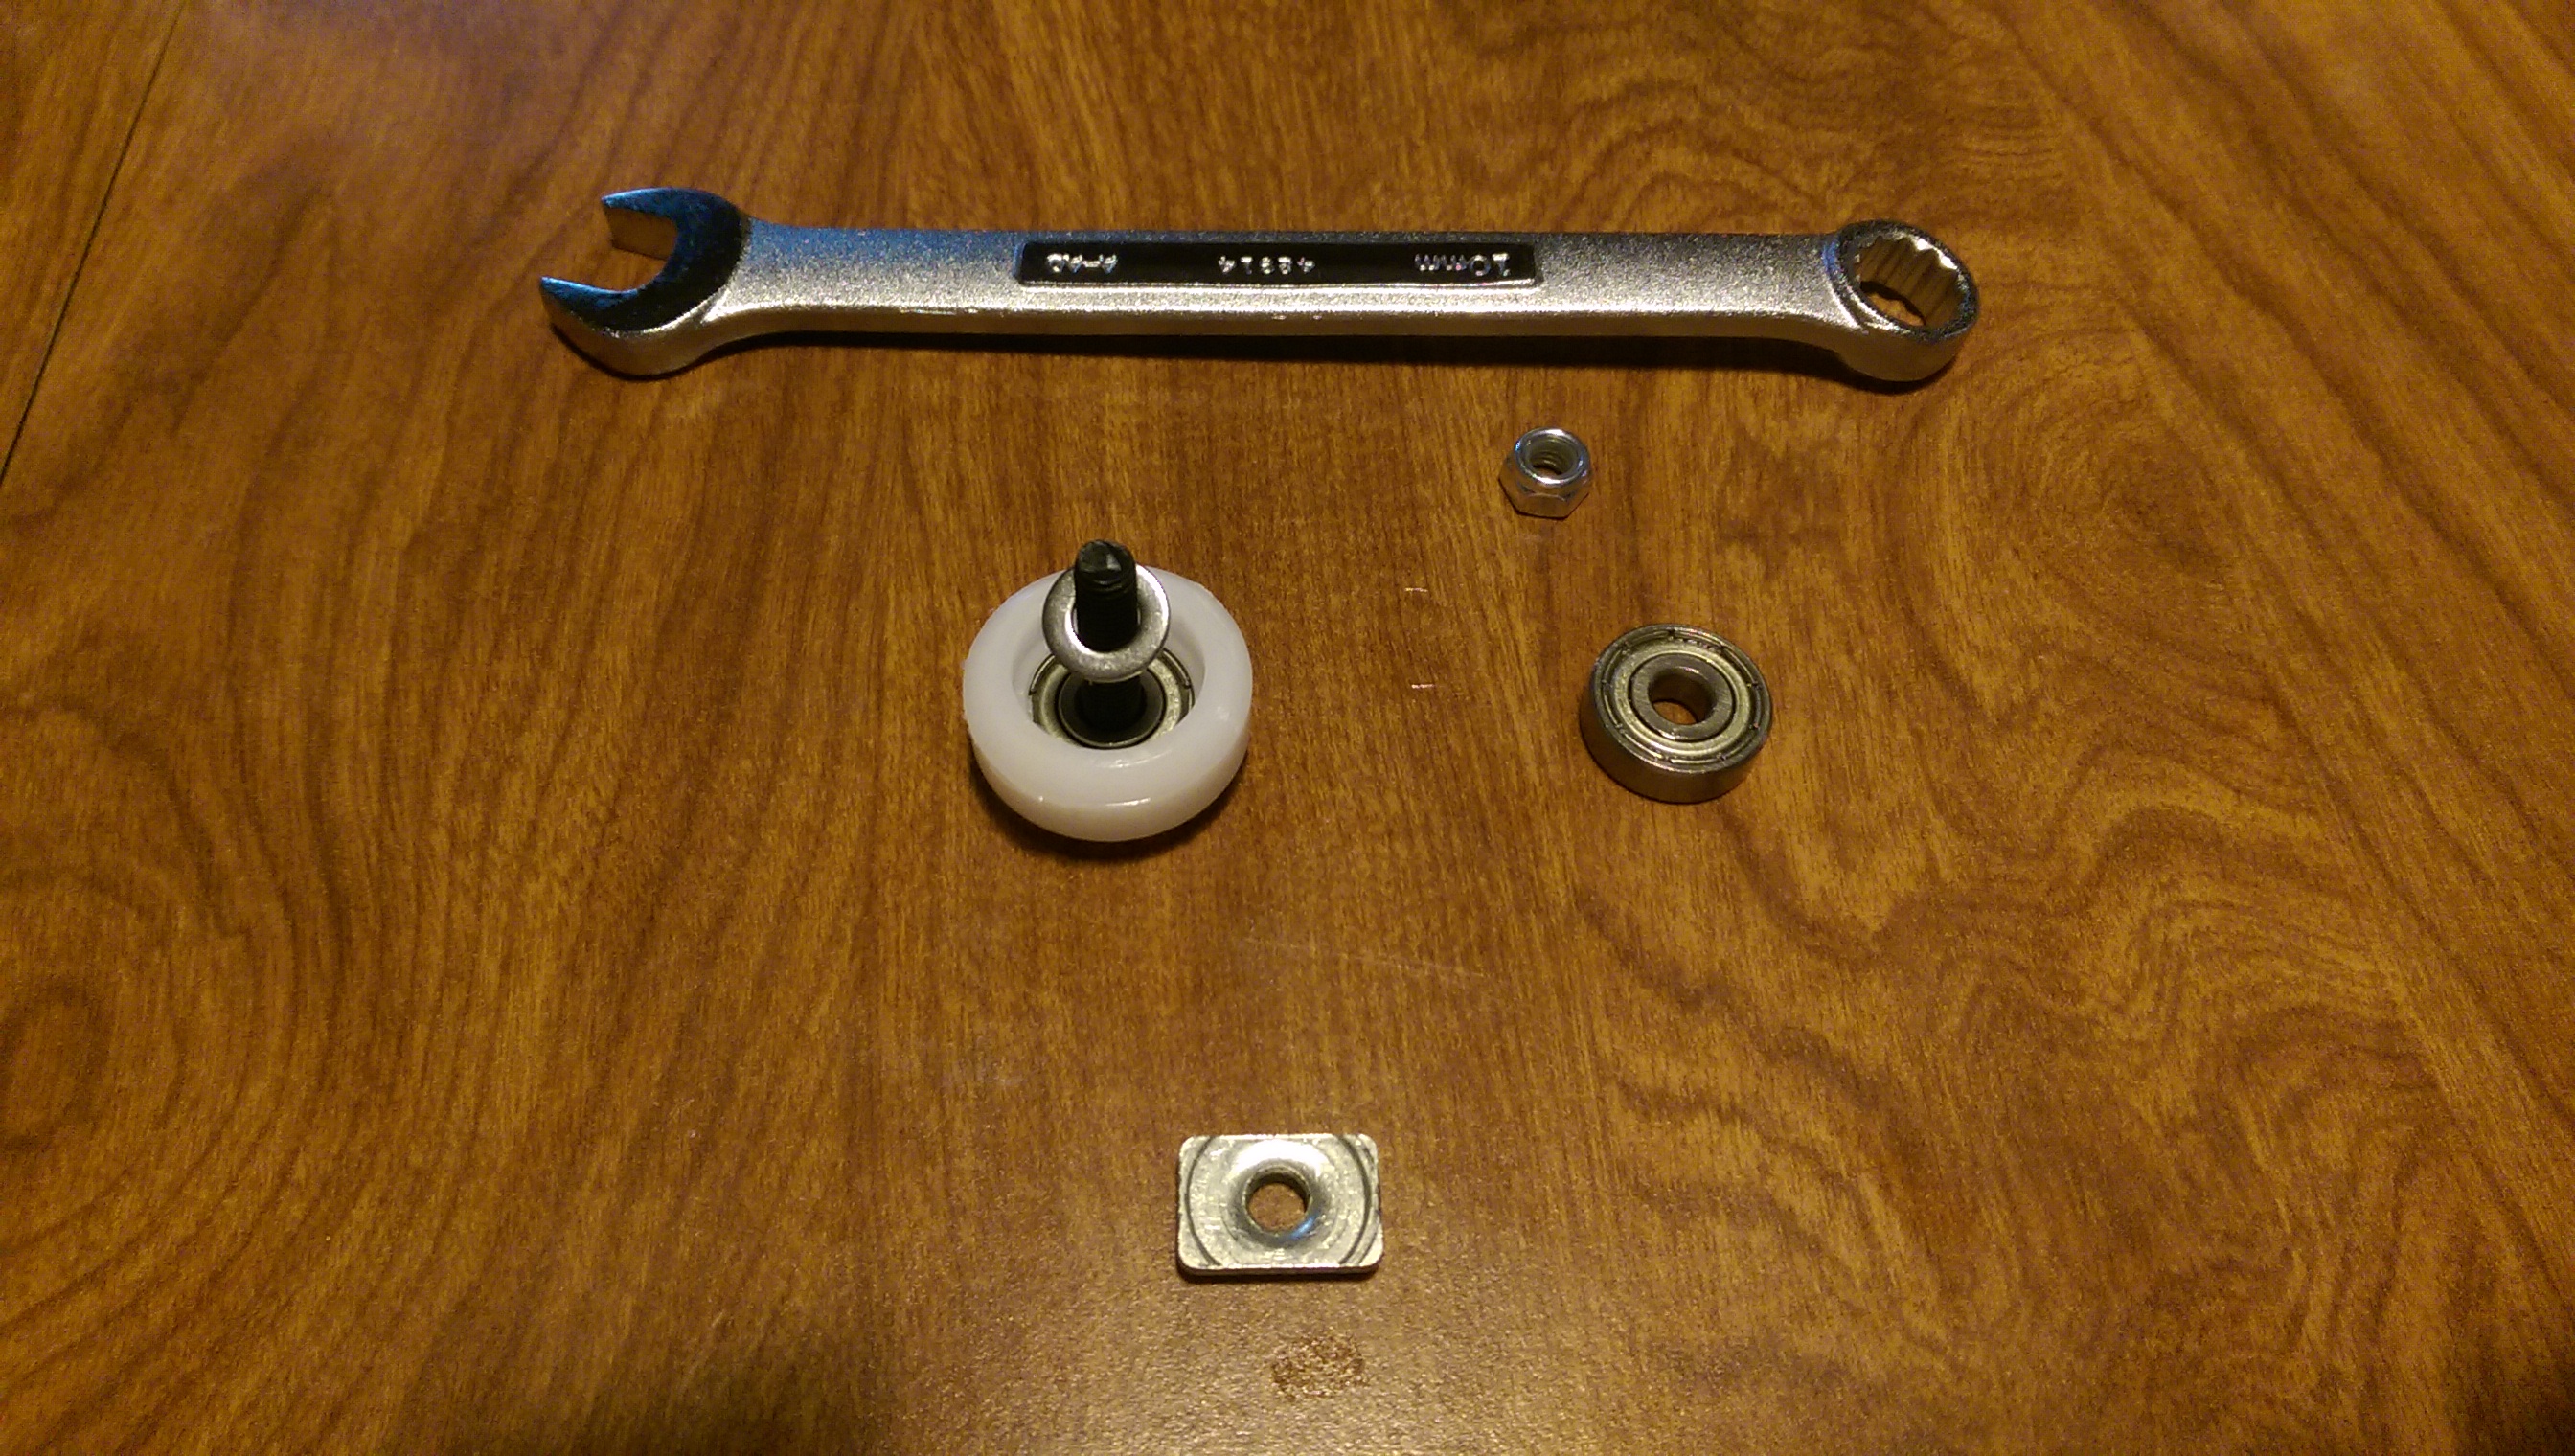
Seat the head of the screw onto the end of a hex wrench.

Use a 10 mm open-end wrench (or pliers, or a Crescent wrench) to turn the t-nut, which will push the bearing into the wheel.
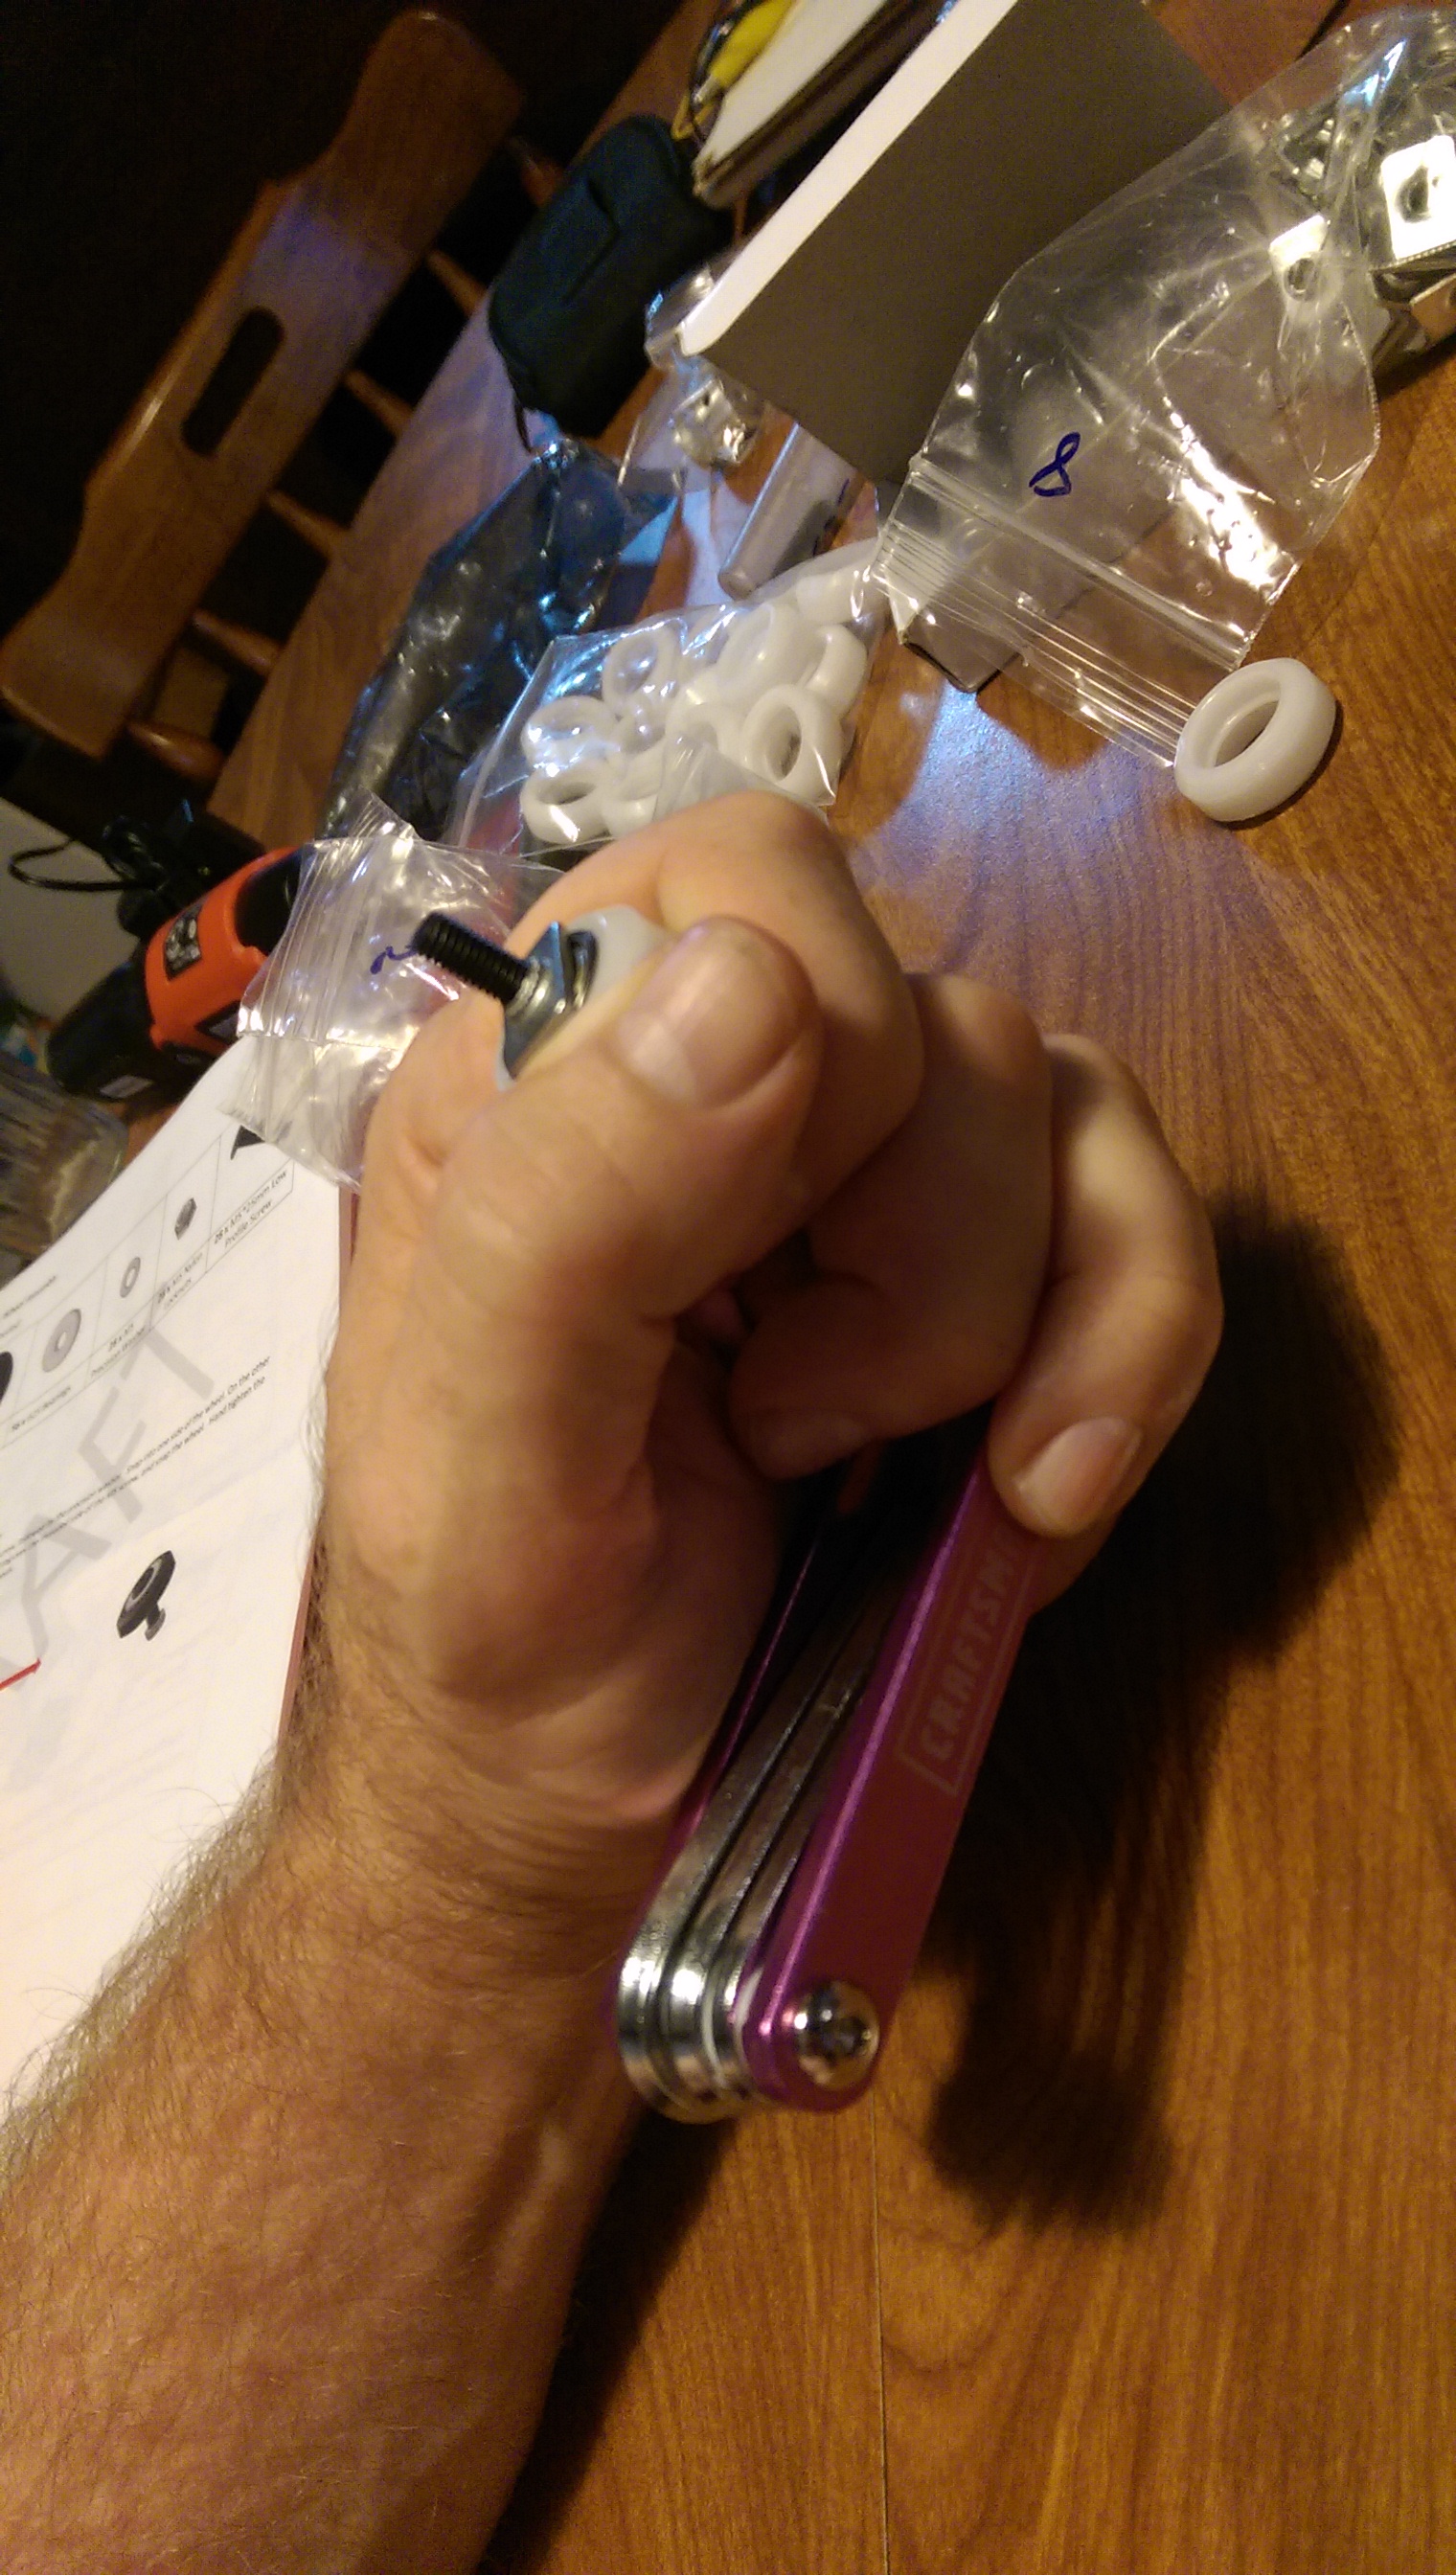
An example grip to hold the whole configuration while you’re tightening the t-nut. Also, the tightened t-nut and the seated bearing.
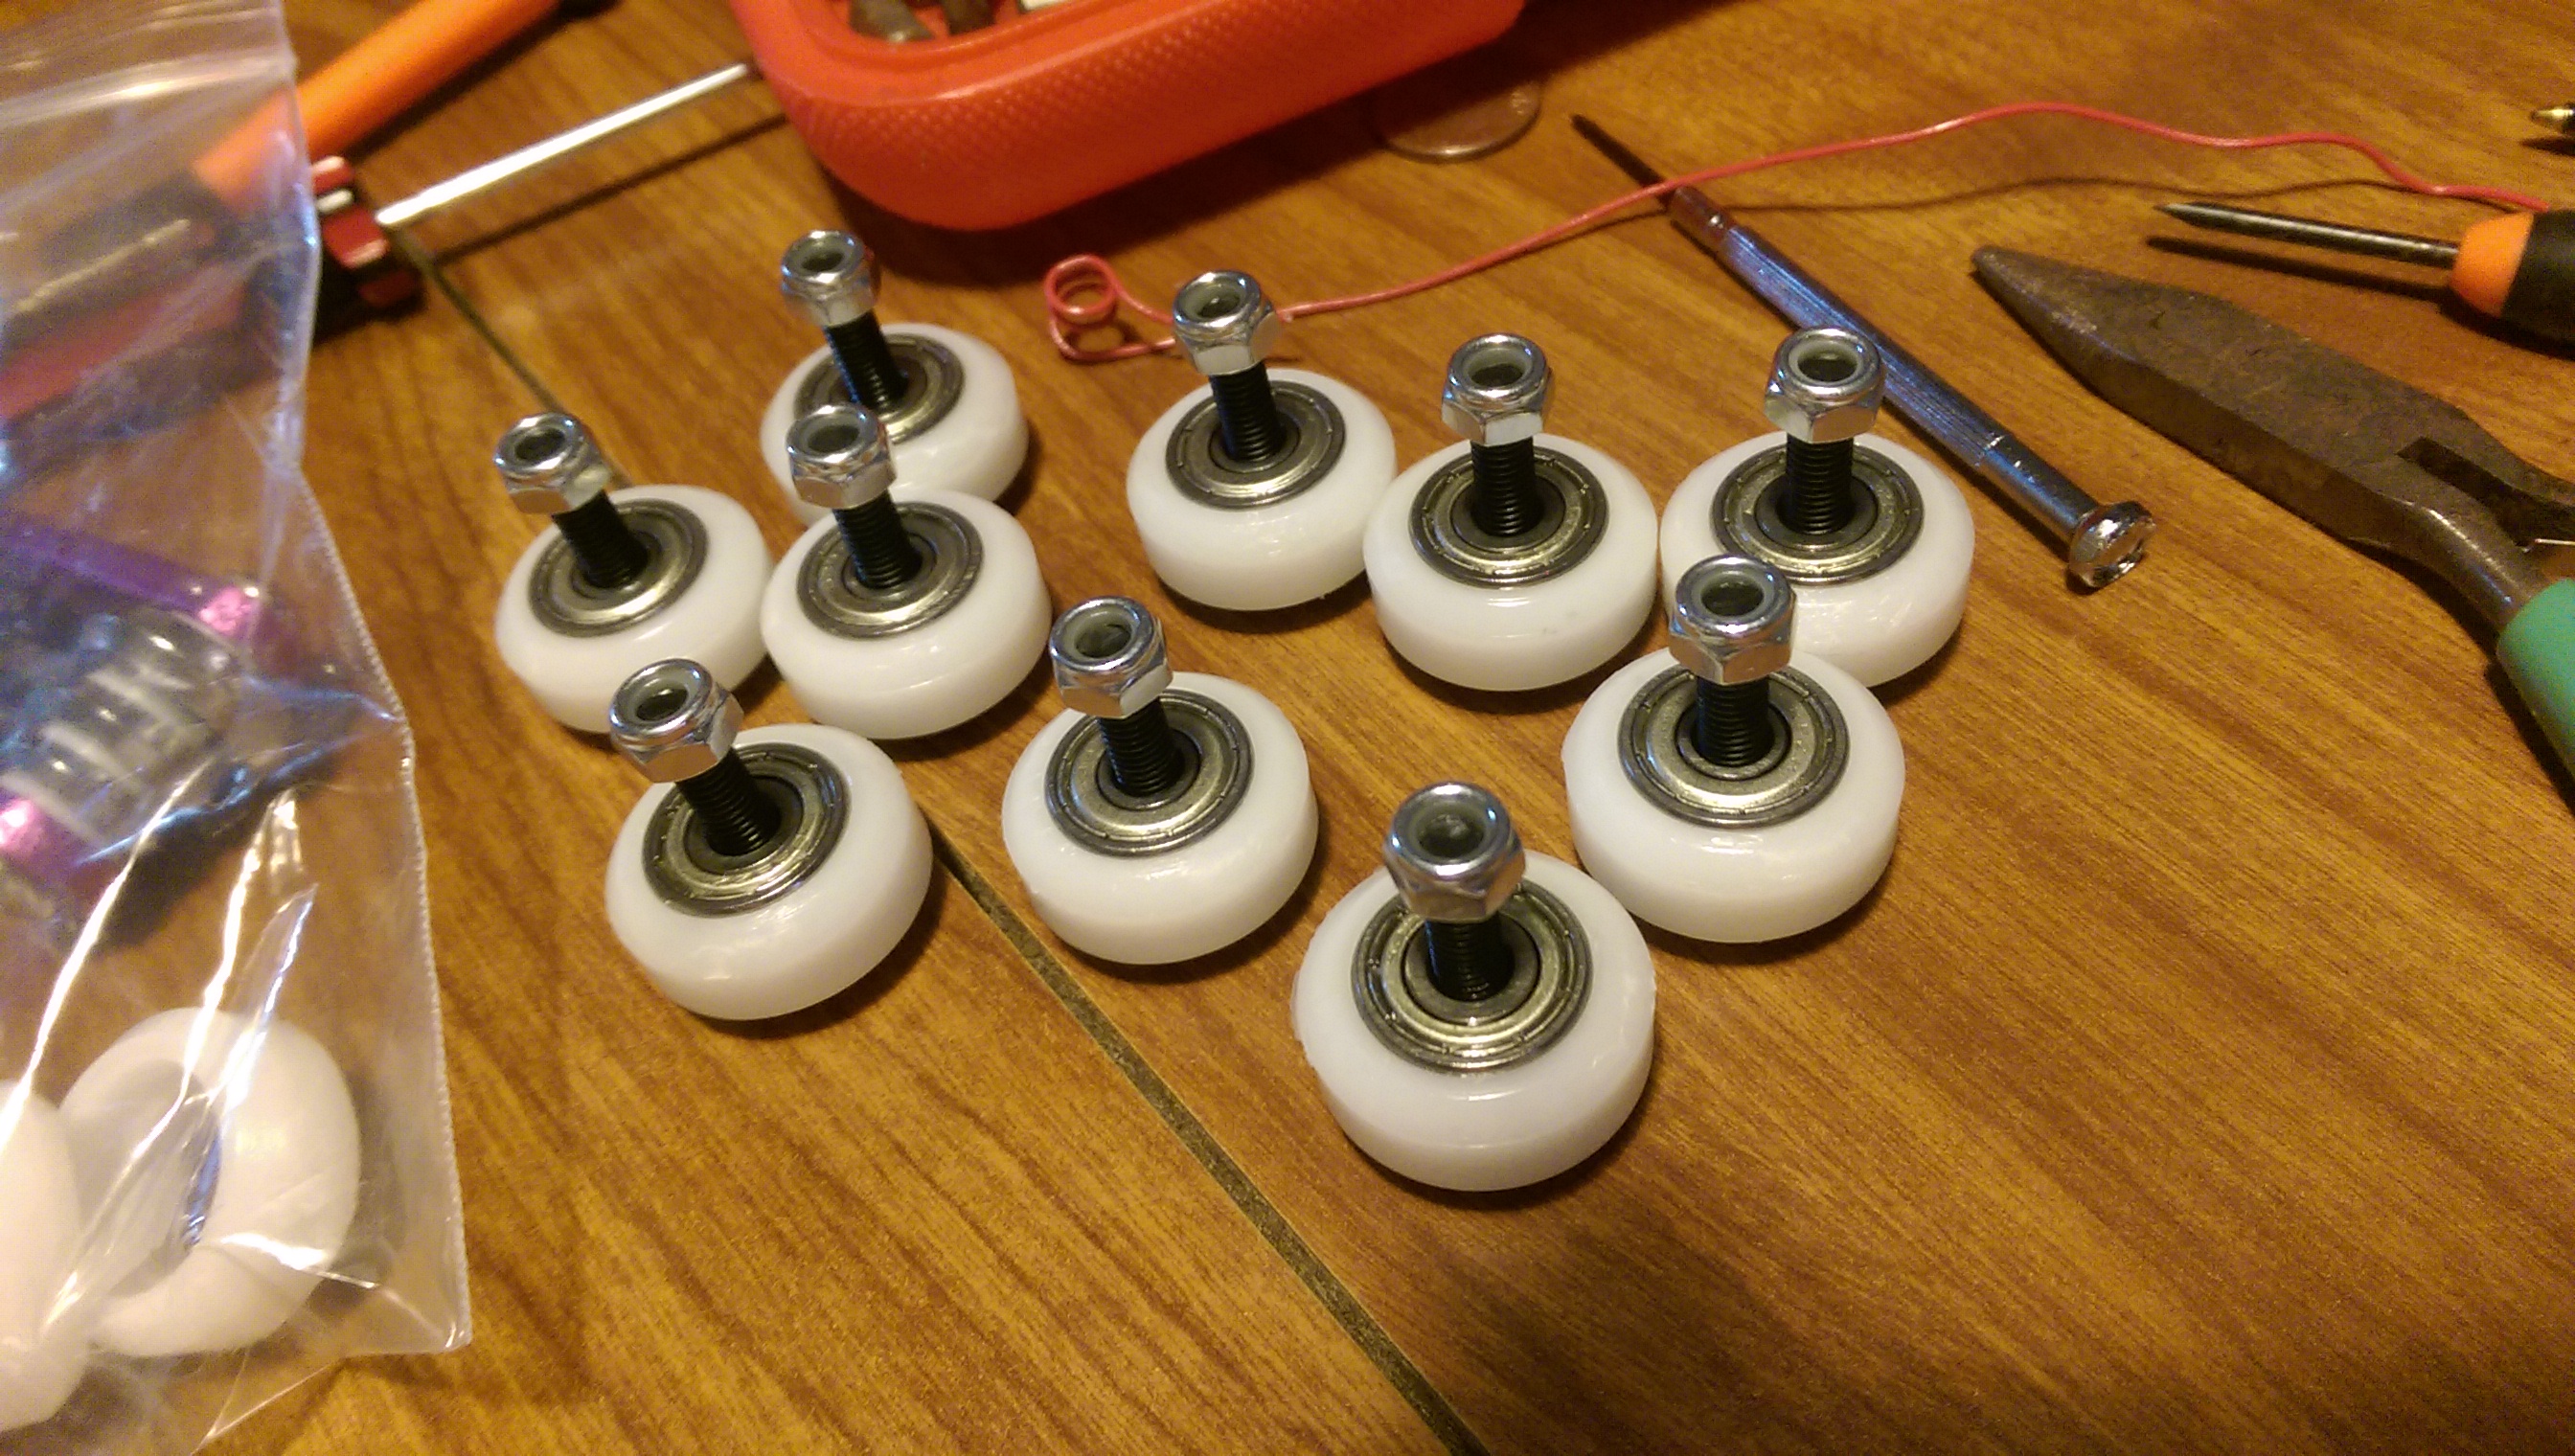
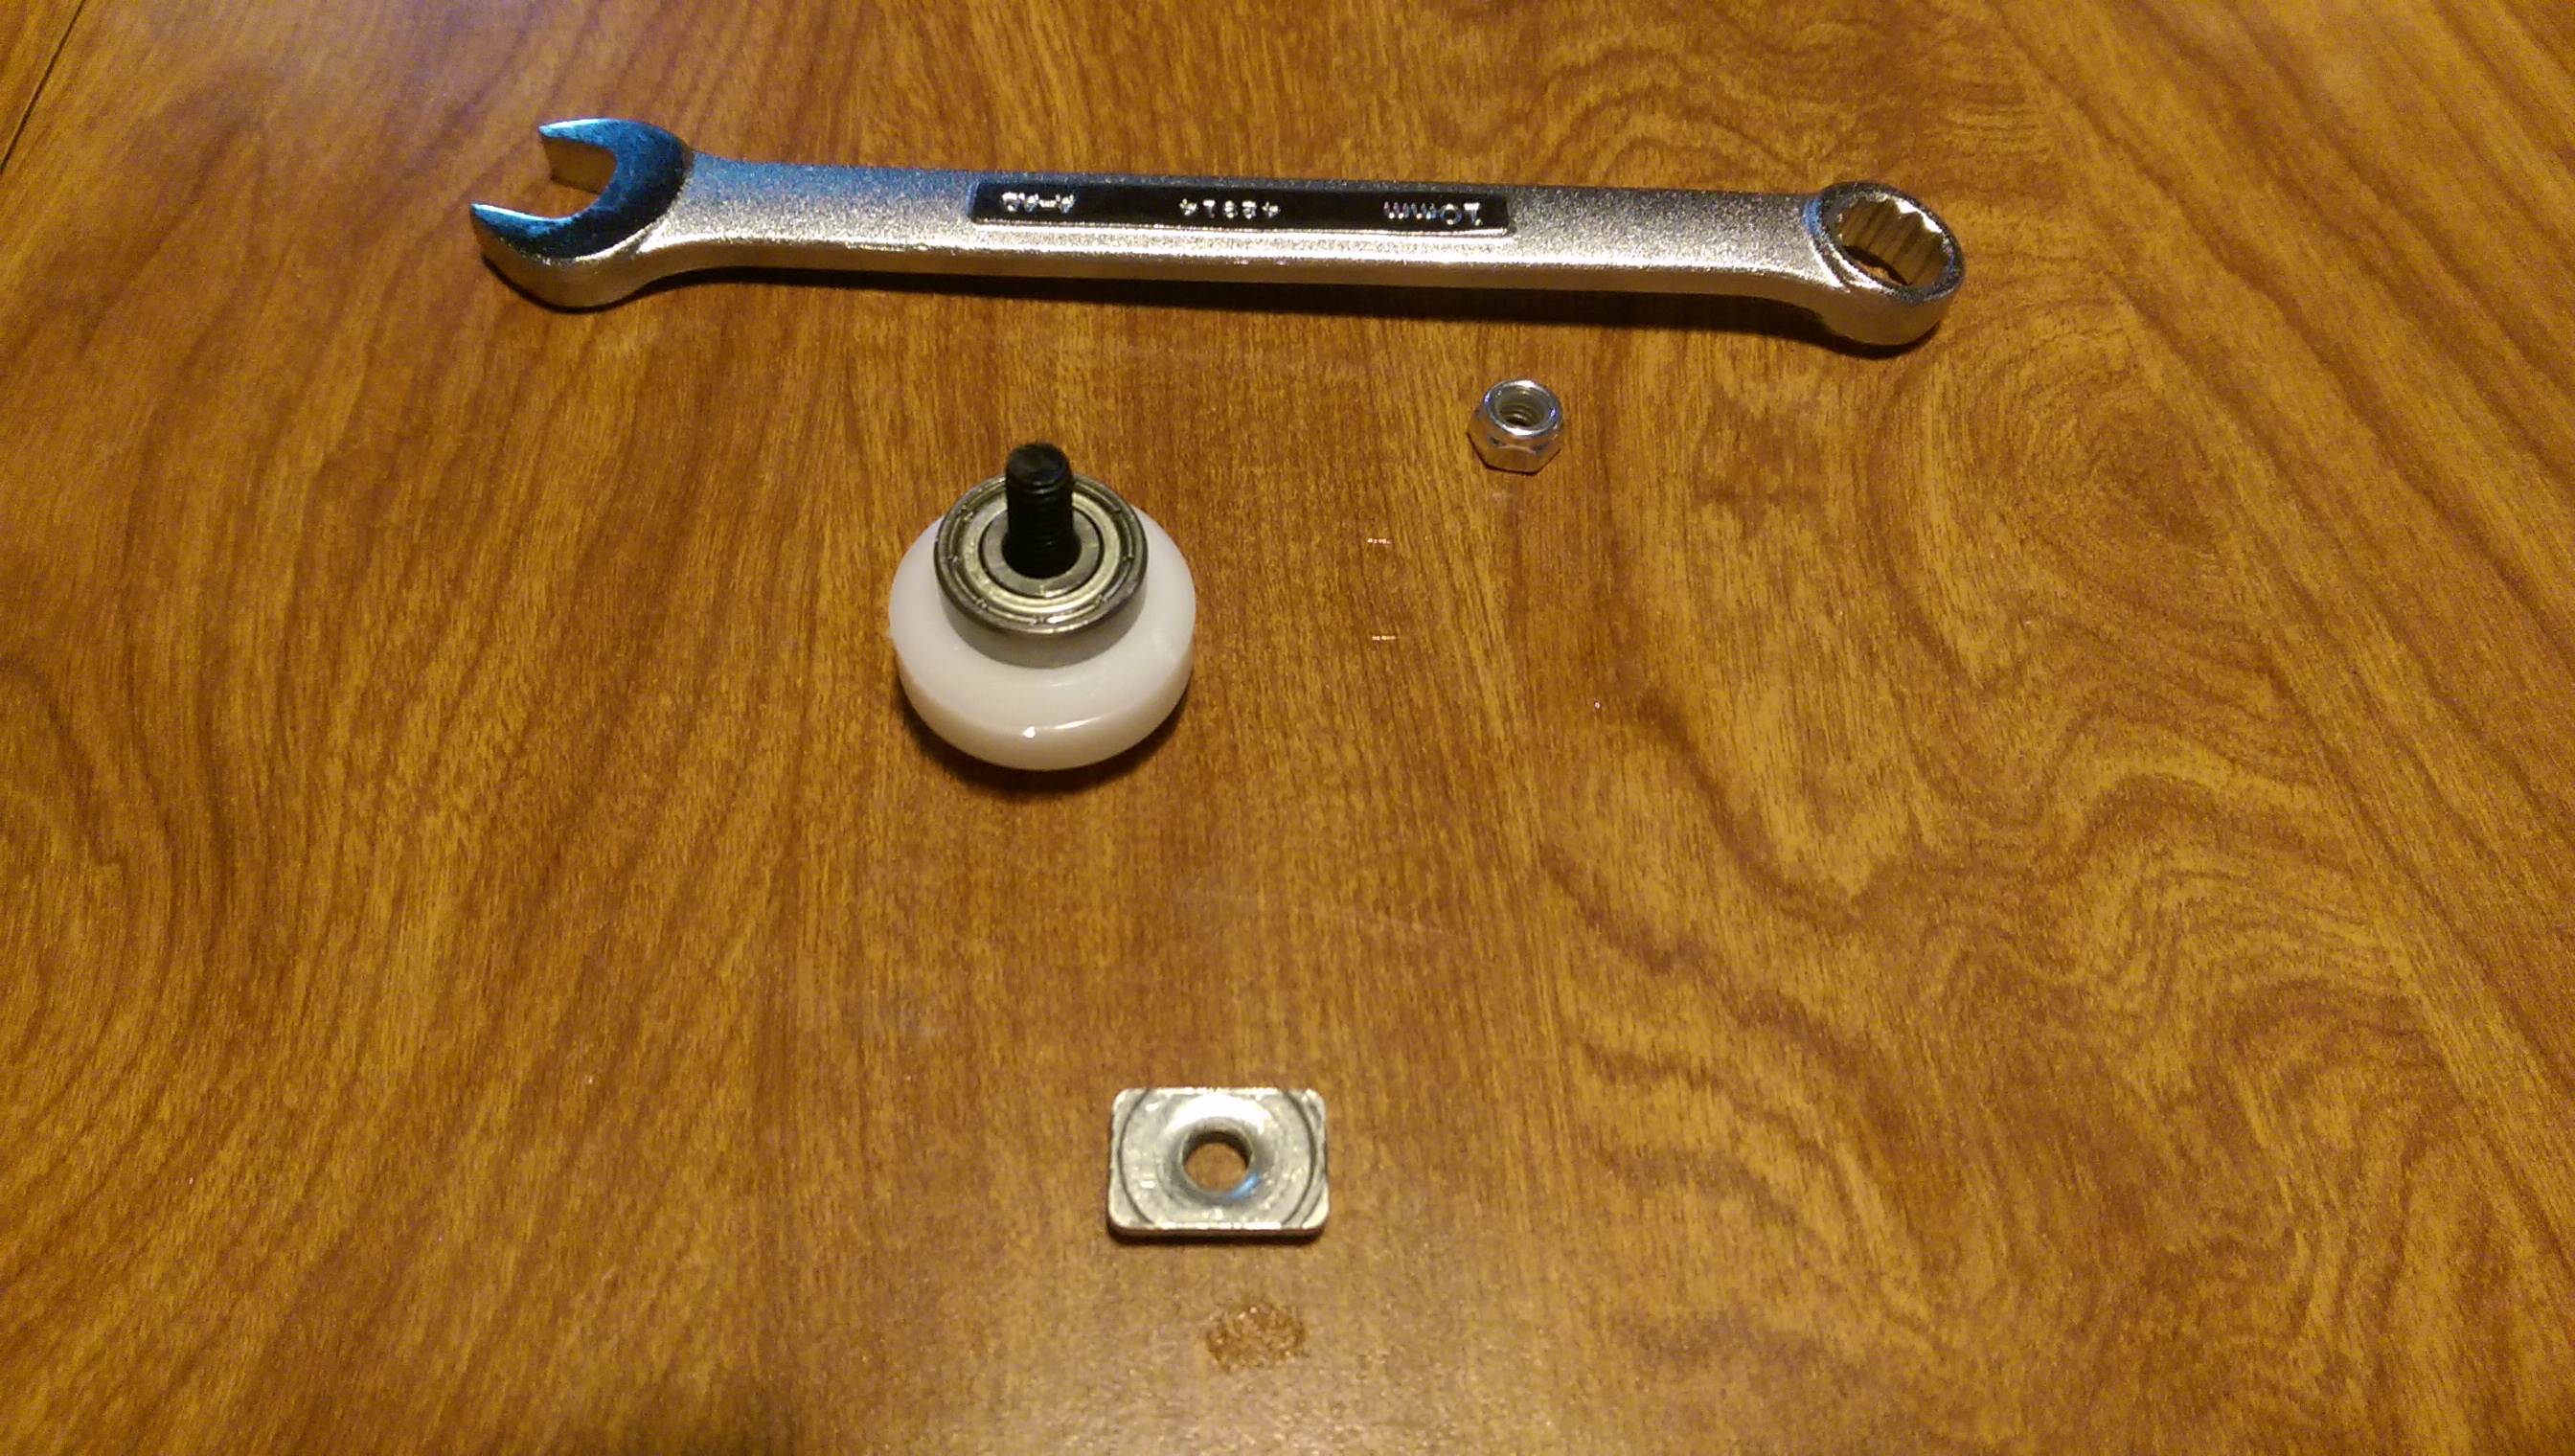
Remove the t-nut (use it again for the others). Finger tighten the lock nut onto the screw, place with the others.
Repeat 27 more times.
I had some trouble getting the pictured hex wrench into the heads on 3 or 4 screws. The hole in the head which accepts the hex wrench was really tight. When I tried a different hex driver, a cast-formed bit for my electric driver, it was much easier to get into the disagreeable screws.
(I think that the folding hex key set as pictured is made by stamping into a die, and the wire that they put in the die needs to have just enough material to fill the die, without being too much, which is a hard balance to strike, especially for screws like these M5 guys, which have really close tolerences on the drive hole, which is good. The casting process used on the driver bits (I have this set) puts the right material into a mold, so it’s a less finicky process.